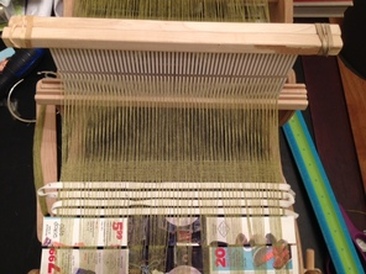
The original post that shows how I warped this with two heddles on a small rigid heddle loom can be found here: http://awanderingelf.weebly.com/a-wandering-elfs-journey/more-sampling-stuff
I used a very, very fine wool single that was a mill-end. Unfortunately, it was not as fine as the yarn typically used in period as mine measures approximately .33mm while most of the extant wool scarves were under .20mm. There was one item that ranged up to .29 so using what I had was not unreasonable.
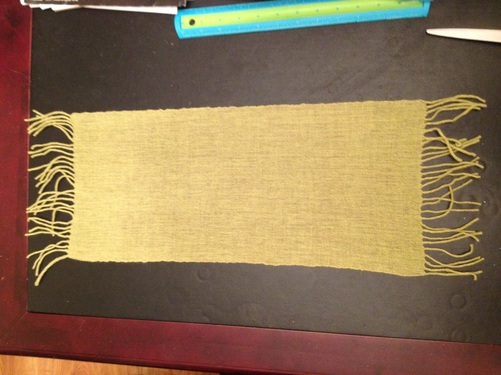
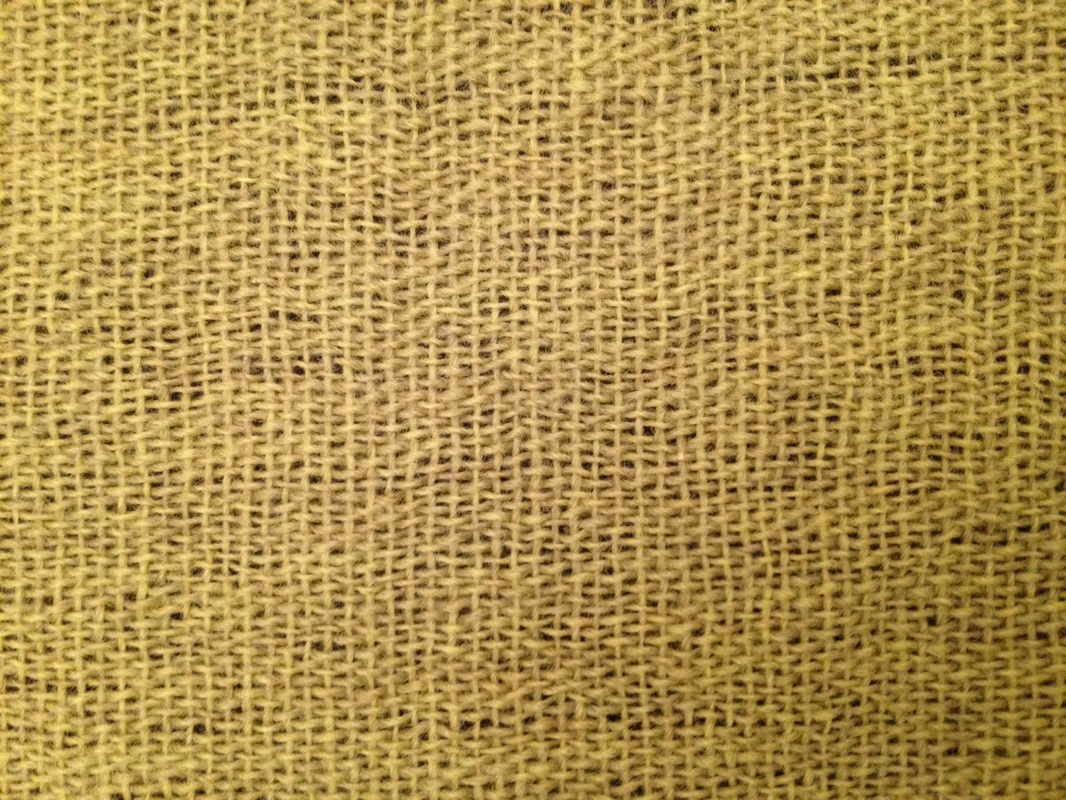
While weaving the sett (ends per inch) was 24, after wet-finishing compressed to 28 (with the weft packed in less densely). The weave is tabby, as that is the weave from all of the original items (and it is the most ideal weave to use on a rigid heddle loom). The majority of the extant pieces had a much higher thread count than I manged with my loom (which has a fixed sett), but one was as low as 29-33 threads per inch, which is not terribly off my 28 that I managed in the warp. My weft is much less dense at 16-18 per inch despite my beating hard. I believe that this too was a limitation of the loom. It seems that I can get a tighter beat if I am using a loom with more distance between my shed and the weaving. (Note also that I was not using the rigid heddle as a beater. Instead I used a weaving sword to pack the weft as would have been done on any loom in period.) Despite the differences, I think this item still has the proper feel as a gauzy wool and I am happy with the results.
One place where I much need improvement on small projects like this is my draw-in. The weaving started at 9.125 inches wide and by the end it was 8.5 inches (after wet finishing it is 8.5 on one side and 8 on the other). The length went from 20inches to 18 which was a bit more shrink than I anticipated. Both the length and the width, however, are within range of the period examples. I plan to warp another of these soon, so I will wear this one and use the other (hopefully better) one for display purposes.
I used a double selvedge as was seen in one of the extant pieces. In that example, two strands of two plied yarn was used, so I plied the same singles I used for weaving to use for that purpose.
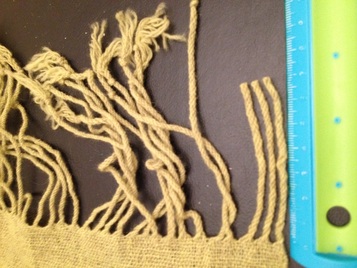
The fringes in the extant scarves range from 20mm to 100mm. I opted to cut mine at 70mm initially assuming that I can cut them down later if I so choose. It is interesting to note that the extant items often have fringed ends that end in loops, presumably because they were woven on a small two beam vertical loom like that found at Oseberg. When the weaving was complete, the piece could be slipped off of the beam leaving the warp ends as intact loops. My chosen method of weaving did not allow for this so I opted to twist my cut fringe, then wet-finish and cut to desired length.
I choose to separate out 8 warp threads for each fringe. I Z twisted those in groups of two and then two the resulting 4 strands and S cabled them. I did tie a knot in the bottom of each until the piece was properly wet-finished just to hold the twist as I set it. This method plying small groups and then cabling them was evident in the extant pieces. The first quarter of the fringes I did entirely with my fingers, but it was hard on my wrist so I switched to a LeClerc fringe twister to finish them. There is no difference at all in the fringes I twisted in my fingers and those for which I used the contraption.
If you want to learn more about the headcoverings I highly recommend the book Viking Age Headcoverings from Dublin by Elizabeth Wincott Heckett. It is a fantastic work that gives intricate detail on the history of the textiles and how they were constructed.
 RSS Feed