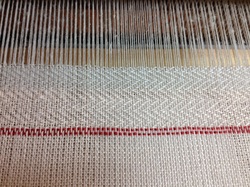
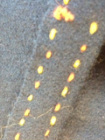
 Linen fabric still on the loom.
 At Pennsic I had a display which covered many areas of Norse fiber arts. Among the items I showed were a miniature warp weighted loom, a sheep breeds display and a handwoven dress. I was rather surprised when I saw that one of the items getting the most attention was my display of handwoven linen samples showing the process of wet-finishing and mangling/smoothing. So many people were fascinated by it (and most of them have never heard of it).
Historically, once the weaving of linen fabric was completed, a coarse piece of linen might be beaten to make it more soft or a fine textile might have been pressed flat to close up the gaps between the threads and give the surface a pleasant sheen. (Bond 175-181) Even in modern times linen fabric can undergo this finishing process called mangling. Mangling uses weight and sometimes moisture (and modernly, heat) to flatten the yarn and create a smooth, polished surface on the fabric.
Historically, once the weaving of linen fabric was completed, a coarse piece of linen might be beaten to make it more soft or a fine textile might have been pressed flat to close up the gaps between the threads and give the surface a pleasant sheen. (Bond 175-181) Even in modern times linen fabric can undergo this finishing process called mangling. Mangling uses weight and sometimes moisture (and modernly, heat) to flatten the yarn and create a smooth, polished surface on the fabric.
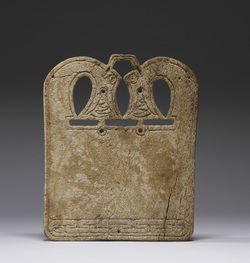 Photo credit - Walters Gallery Archives
 In the Viking era the fabrics were pressed smooth with a glass smoothing stone (also called a slickstone) on a board. To the left is a whalebone smoothing board. Below is an image of a glass smoothing stone from the Swedish History Museum and a collection of smoothing stones from York.
Note that while many of these stones appear black, they are actually dark very green glass. They were pressed, domed side down to the fabric, and pushed in a back and forth motion to flatten and polish the fibers of linen textiles. (Walton 1776)
At Pennsic 41 I had Historical Glassworks craft a dark green glass smoothing stone for me, so that I could experiment with the technique myself.
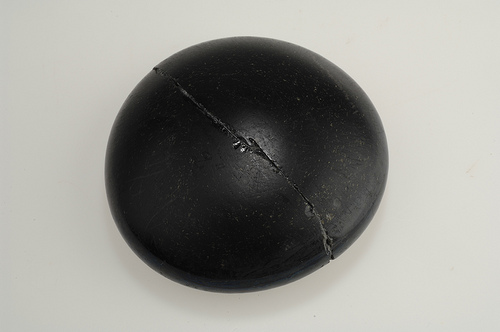 Photo credit - Swedish History Museum | 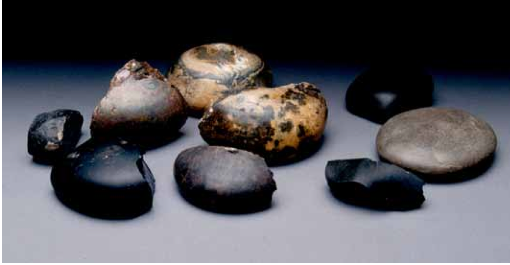 Photo credit - "Textile Production at 16-22 Coppergate" |
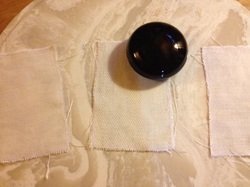
Here you can see my smoothing board (a marble tabletop, as I do not have a whalebone board and the wood that I had handy had very pronounced grain lines) and glass smoothing stone, as well as some of my linen samples.
When I cut the fabric from the loom, I took each of my different weaves and cut them into three pieces. The first was left as it was on the loom (which means it still had my boiled flaxseed sizing on it), the second was washed and allowed to dry and the last was washed and mangled.
My first attempts to mangle were on dry fabric. This resulted in the linen fibers fuzzing up to some extent. I tried again after dampening the fabric, pressing most of the water out and then mangling it. While the gaps in the weave closed somewhat with the wet-finishing the final act of pressing the textile with the smoothing stone created a soft, flat surface that has a bit of sheen to it.
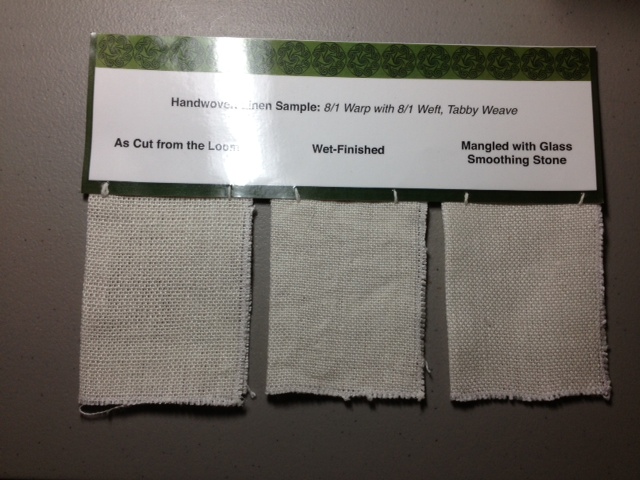
Samples of 8/1 linen in both the warp and weft, with a tabby weave.
 Linen as cut from the loom. | 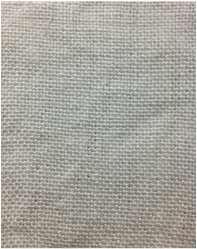 Wet-finished linen. | 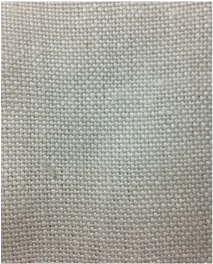 Mangled linen. |

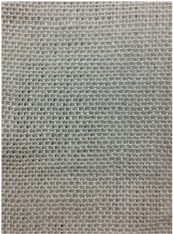
Samples of linen with 8/1 warp and 12/1 weft in a tabby weave.
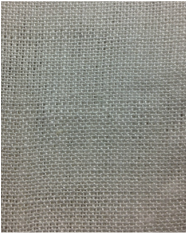 Linen as cut from the loom. | 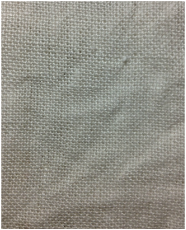 Wet-finished linen. | 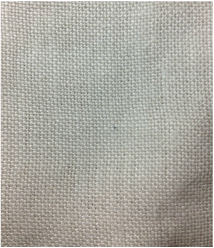 Mangled linen. |
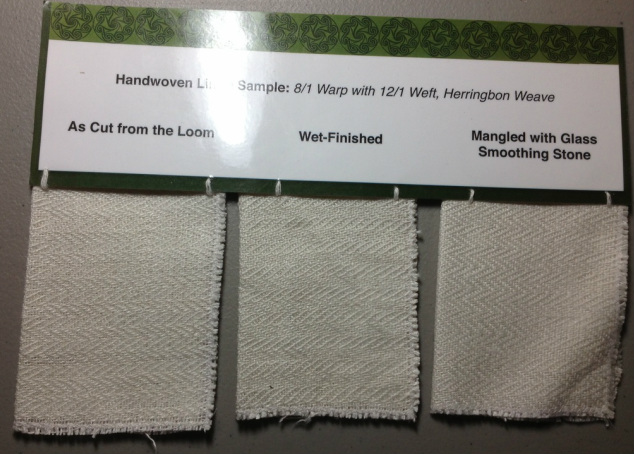
Samples with 8/1 warp, 12/1 weft and herringbone weave.
 Linen as cut from the loom. | 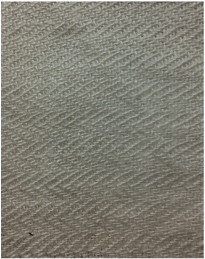 Wet-finished linen. | 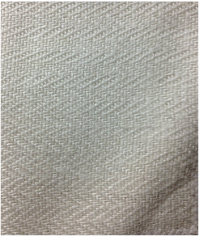 Mangled linen. You can get a better sense of the textiles somewhat glossy finish in this photo. |
Andersonn, Eva. Tools for Textile Production from Birka and Hedeby (The Birka Project for Riksantikvarieambetet), 2003.
Ejstrud, Bo, Andresen, Stina, Appel, Amanda, Gjerlevsen, Sara and Thomsen, Birgit. “Experiments with flax at the Ribe Viking Centre” (Ribe Viking Centre & University of Southern Denmark), 2001.
Bond, J.M. and Hunter, J.R. “Flax-growing in Orkney from the Norse Period to the 18th Century,” Proc. Soc. Antiq. Scot. 1987. 175-181.
Walton, P. "Textile Production at 16-22 Coppergate." The Archaeology of York Volume 17: The Small Finds. 1977.

 RSS Feed