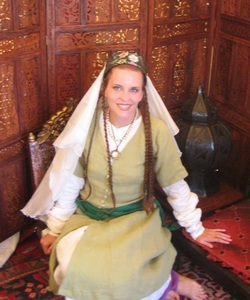
The first thing you need to consider is the type of hair you purchase. You should choose the hair that is closest in color to your own (unless your hair will be entirely covered by a hat) and look for a suitable texture as well.
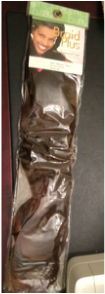
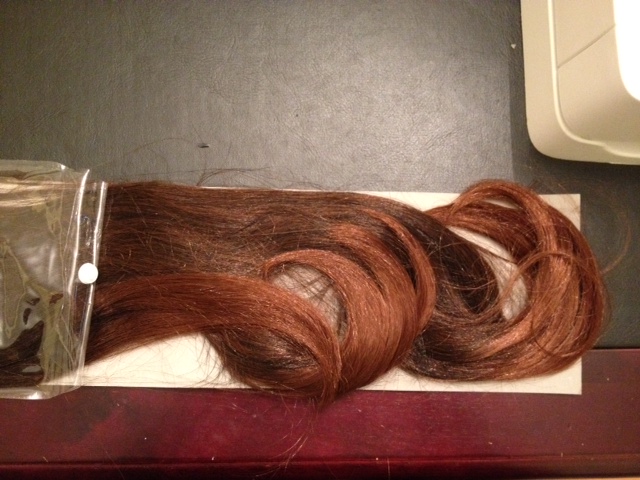
I have purchased several types of hair over the years, but the only ones that were convincing (on me) were the silkier types of toyokalon fiber. In addition to looking for an appropriate texture and color, I always buy the type of hair that has a bit of curl to the end as it looks more natural then the blunt cut types once braided. I have never paid more than $5 a package for this hair but have never found anything under $2 that works (there is some out there that looks more like cotton batting or badly carded wool than it does hair). There are many textures available from coarse with a bit of crimp to very fine. Use what looks best with your own hair. I have done hair pieces with just a few braids using one package of hair, or used two packages for more braids.
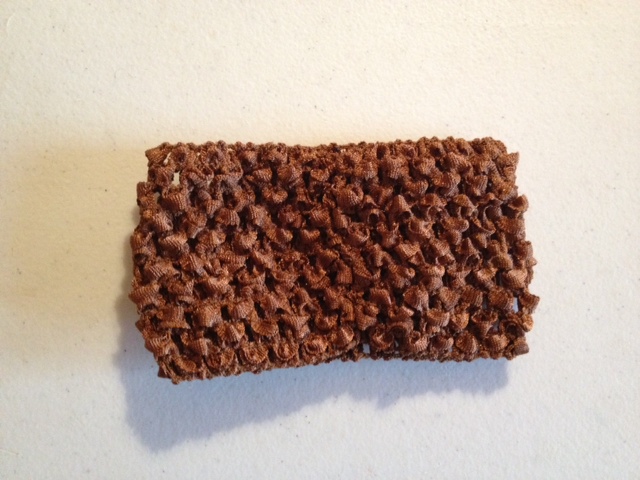
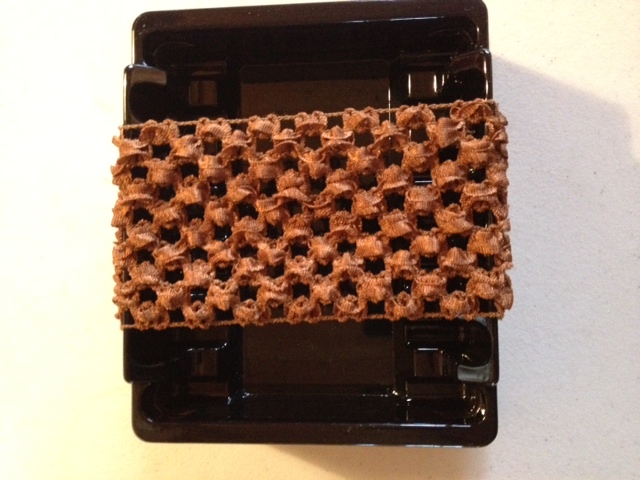
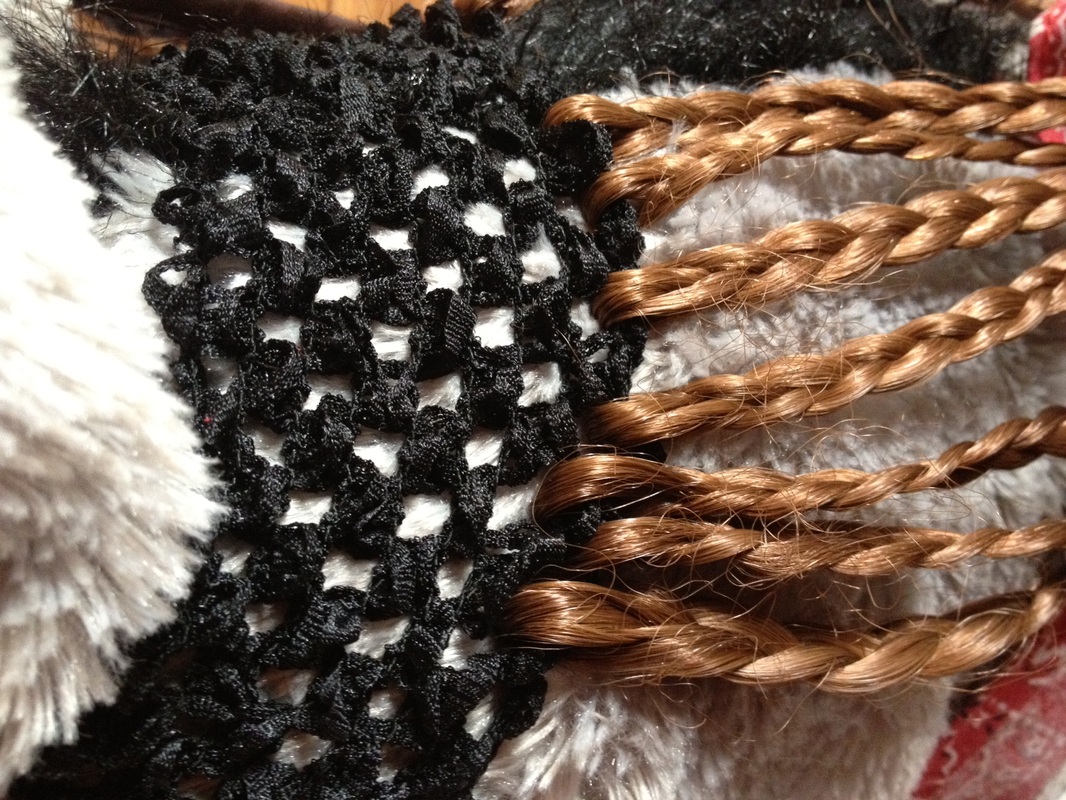
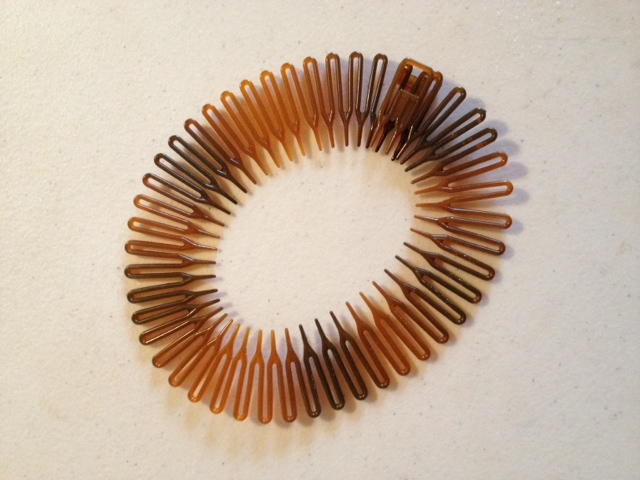
| To the left is the type of hair band I use as a base. It is extremely elastic and has a very open weave (as you can see below). They sell these at most of the hair braiding supply shops in my area (or at least they did a few years ago) and they run no more than $1 each. They come in several colors and un-stretched are about 2x4 inches and they easily stretch to fit around your head. Below you can see one stretched just a bit. See how large the holes become? It is very easy to pass the hair through them! |
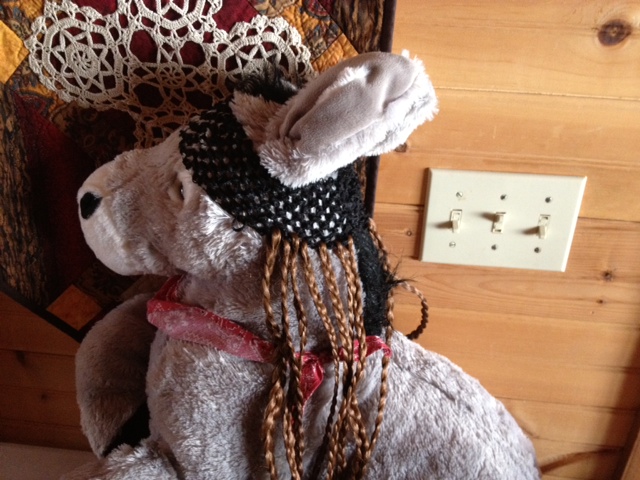
| Do not laugh at my model ;-) Here is a close of up of the hair attached to the band. When I am making a hairpiece I put the stretchy band on a foam wig mannequin. I take the bundle of hair (which comes with a rubberband in the very center) and divide it into sections. It is very good to have a spray water bottle handy here, as it can keep the static down and the hair clumped together while you work with it. I place a bobby pin in the center of the section I am using, and pass that through a hole in the band just about an inch. I insert my finger below the bobby pin and pull one half of the hair through the hole (leaving the rest on the other side). I then braid the hair and tie off the ends with a small, clear elastic. |
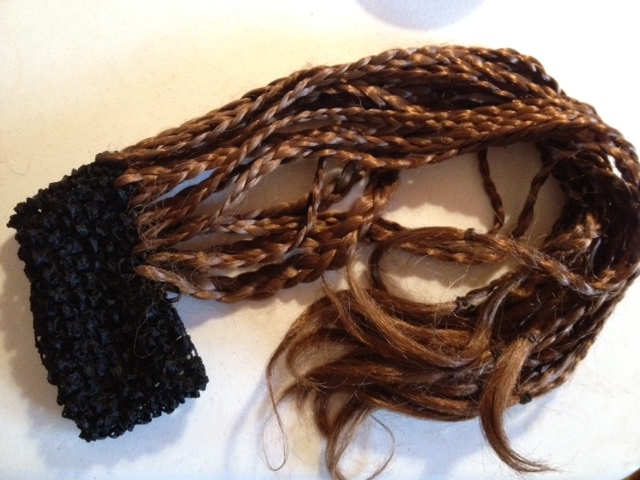
| Above is a picture of the completed hairpiece as well as one displayed on my model ;-) To the left is the type of hair comb I used to use to pull all of my hair back before slipping on the hairpiece I made. (At the time I was using these, my own hair was barely two inches long!). I would pull all of my hair back, slide on the hairpiece and secure with two bobby pins and then top with a hat. I made all of my hats myself. They were fitted to be worn over these hair pieces and are unlined, but have craftweight wool felt as a stiffener. I think the wool helps them "grab" a bit and I have never, even with hours of dancing, had a hat slip off and reveal the secret of my hair. |
 RSS Feed