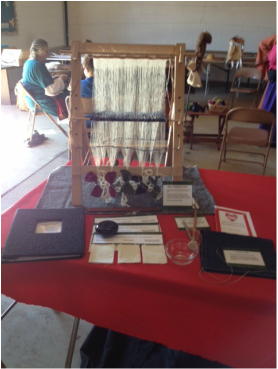
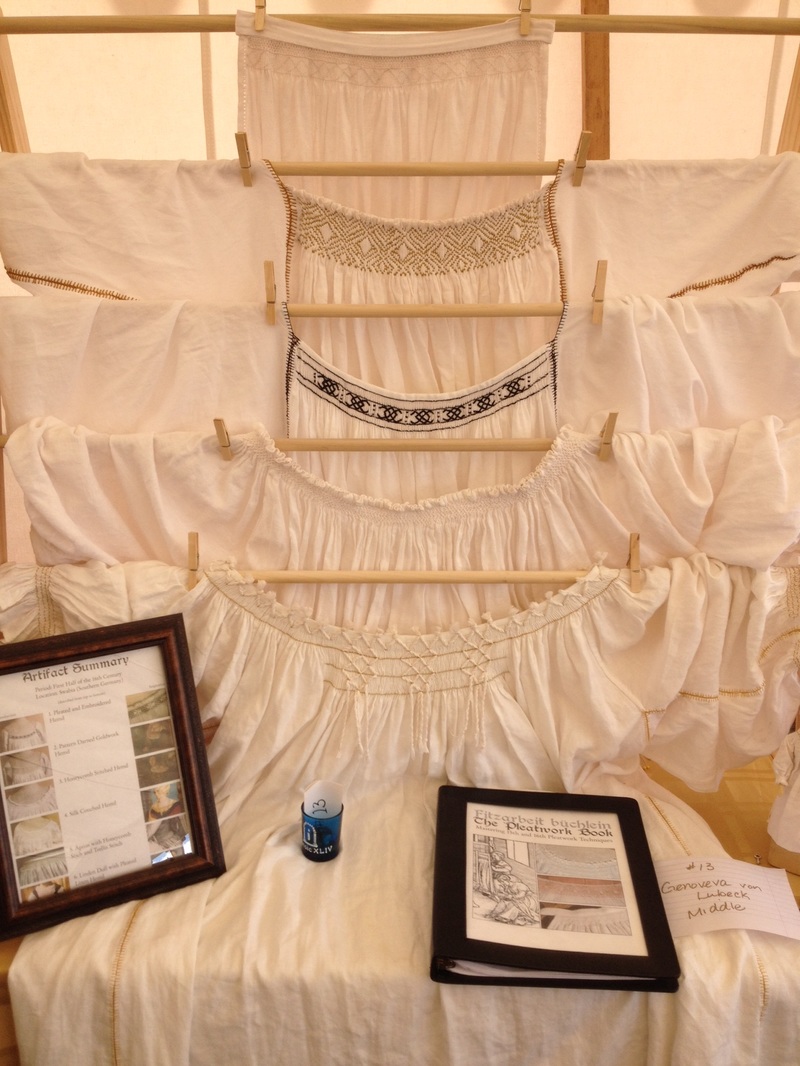
 My Viking Era Norse linen display from Siege of Glengary 2014
 In my case, most of my larger projects are more research based. Those need something that is visual enough to catch someone's attention to get them over to the table to take a peek. For example, a 20 page, corner stapled, research paper would easily get passed over, but there are ways to dress it up that will help attract an audience. Below are some tips that I have found to be successful over the years for enhancing a display:
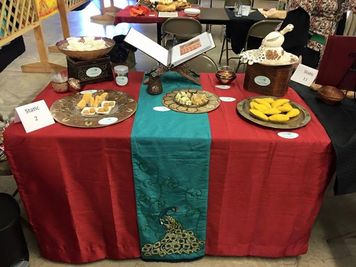
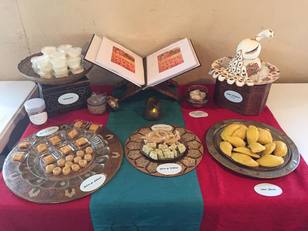
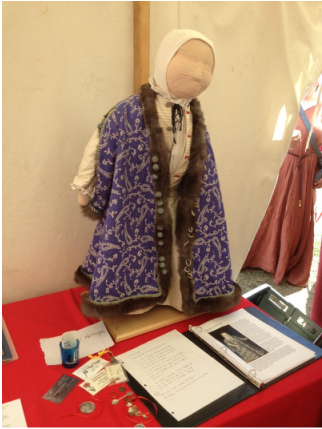
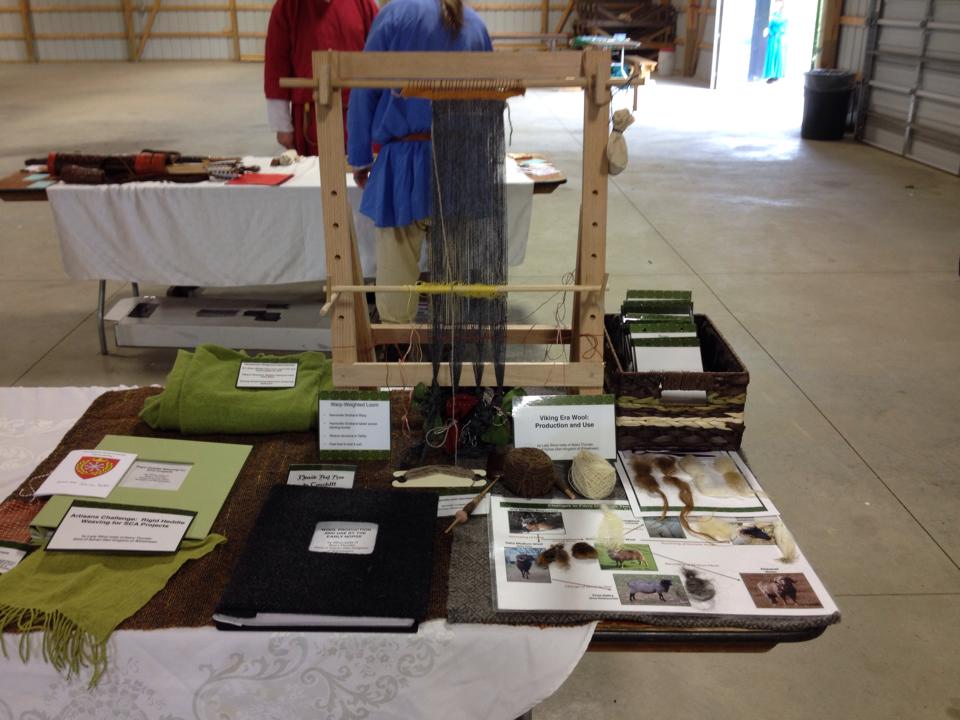
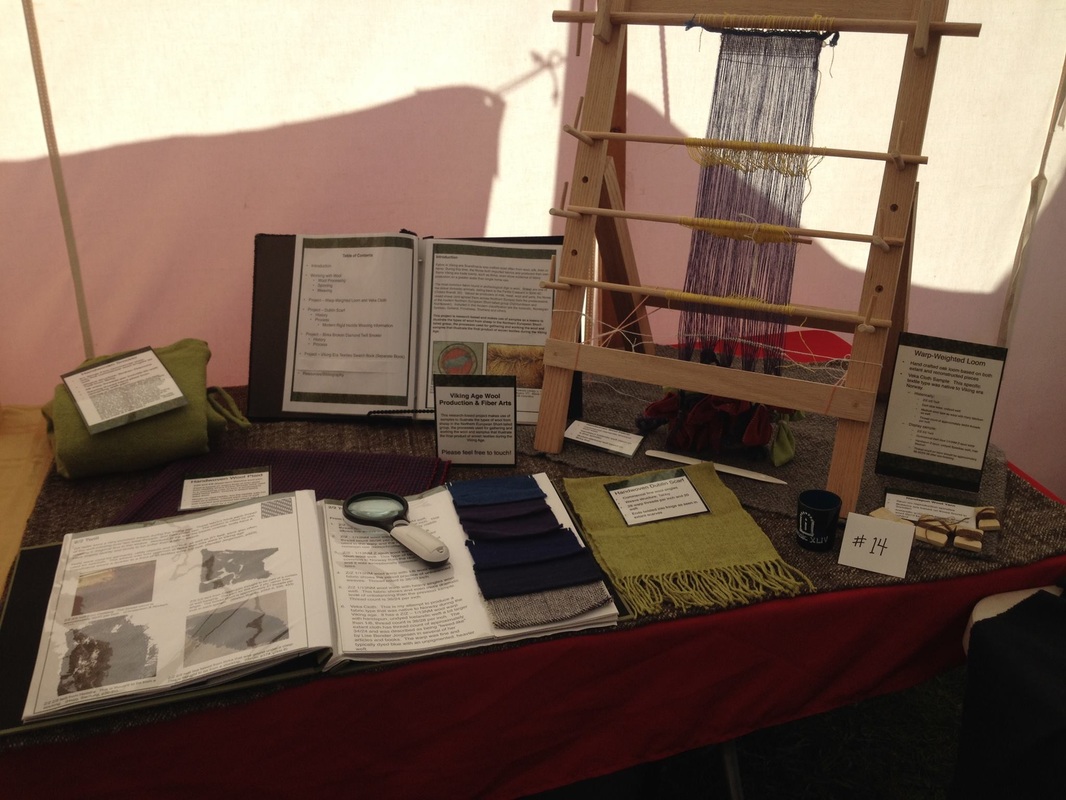
- Table cloth: I often use small pieces of hand woven fabrics (items I did as samples or to use up yarn) as a base for my displays. This makes sense since my work is fiber arts related. Handwoven goods would certainly not be necessary, but a nice cloth for the area under your display is advantageous. If your item is a spectacular piece of handwoven trim that is a muted color, it might be totally lost on a dull colored cafeteria style table. A richly colored fabric might help your item stand out. Likewise, a jeweltone faux brocade might be a nice background to a display of Ottoman style jewelry. I do recommend, however, to avoid busy prints or fabrics with too much shine.
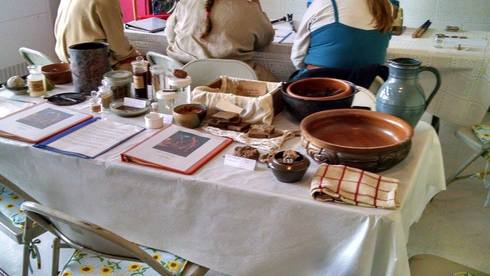
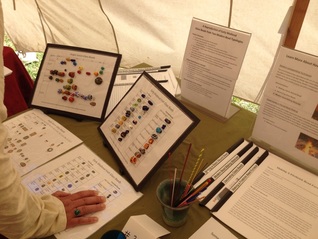
- Display Cards for each item: Often at larger events like the Pennsic A&S Display artisans will present multiple items spread out on the table. It can be difficult to tell where one individual's display stops and another begins. Using a table cloth can help with this, as can small cards with a brief bit of information about each item. If the cards are all identical, it will be clear which items belong to the entry.
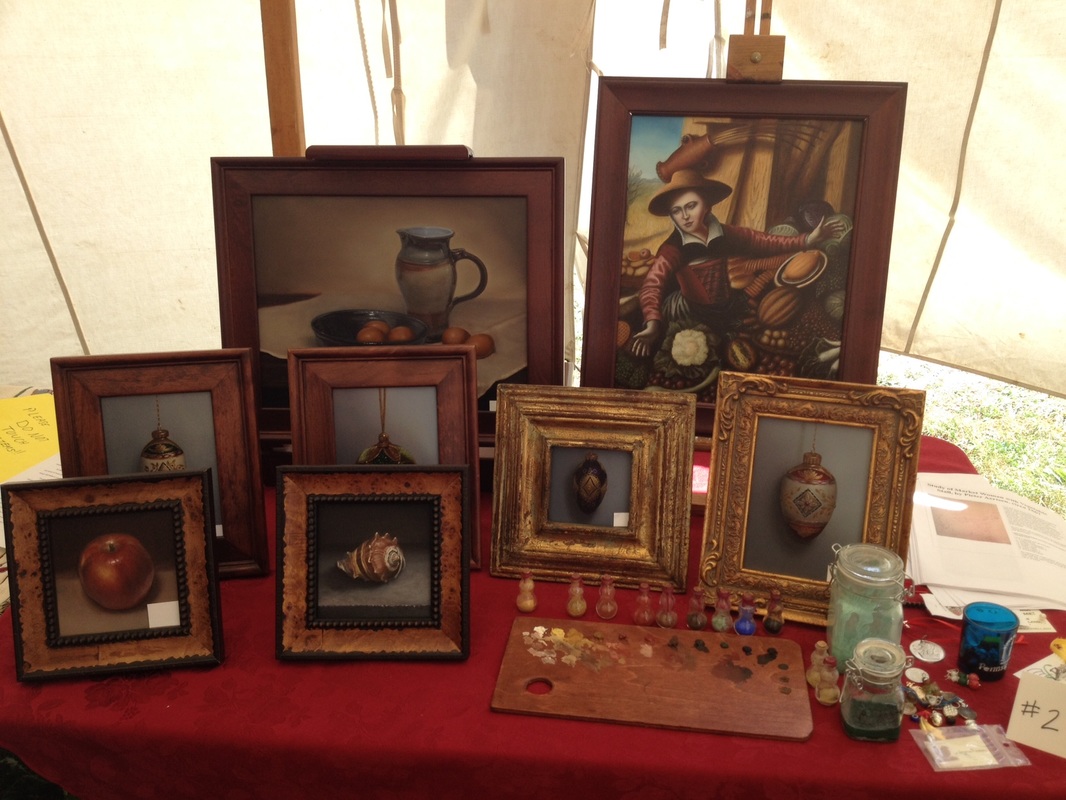
- Elevation: Raising some items will make them easier to see, or can enhance the composition of the entire display. It can also make items in the back of a display easier to reach.
- Accessories: If your display is period painting and you want to show your paints, they would look nicer in period vessels. Even if what you have to use is not perfectly period, something less modern than plastic cups will still serve you well and not distract from your medieval craft.
- Cards: If you will not be sitting with your display for a long period of time, you should make sure that there are cards with your contact information for people to take with them (most folks use a business card format set up with their SCA information). Someone might want to contact you later about how you did something or they might want you to come teach at their event. They are also exceptionally handy for networking (geeking) with other artisans with whom you might want to later share resources or information. (Of course you cannot leave cards out for blind competitions, but they are handy to have when speaking to people afterwards!)
- Lighted magnifying glass: We all know that many display halls do not have optimal lighting. Additionally, it is not uncommon for individuals who only use glasses to read to forget to carry those glasses with them as they wander around an event. If your work is detail oriented or small in scale, it can greatly help your audience to provide a magnifying glass along side your work. (I have several I use for displays and that I also offer for use in my classes. I got them on Amazon for about $5 each).
- Font: Make sure that documentation and display cards make use of legible fonts that are large enough for the average person to read. There are so many lovely medievaloid fonts out there and it is quite tempting to use them, but most often they just end up confusing. Opt for simplicity.
- "Touch Me" Signs: More often than not, we love for people to handle our goods. Occasionally, however, we sometimes have very delicate items that are just better off not being handled. A small sign that lets viewer know that it is safe to touch will encourage them to take the time to really examine your work, and likewise, a similar sign letting people know that the item should not be handled can preserve a fragile piece. (And of course, signs listing ingredients of food items are a matter of safety for many individuals.)
- Multiple copies: I was advised several years ago by my Laurel to have a second copy of my documentation available at my display. If someone is looking at my book and another person has questions, I still have something to refer them to without interrupting the first person.
- Binders/Folders: A stack of paper stapled together can actually be mistaken for a handout and someone just might walk off with it (yes, I have seen that happen). Even a simple plastic folder can denote that the material is part of the display and meant to be left there.
- Organization: If your book of documentation is thick, adding tabs to the edges of the pages for each section can help people navigate to the portion they are most interested in. For example, my book with textiles documentation from Pennsic had multiple projects, so I added labeled tabs to the edges for each item. This allowed people to skip right to the item for which the desired more information.
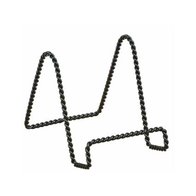
- Stand: A small easel serves two purposes. The first is that it elevates the documentation and makes it easier to reach and the second is that this allows more space on the actual table for your art. Wire stands such as those shown to the left are small, unobtrusive and can be purchased on Amazon for just a few dollars.
- Professionalism: I think many of us have pulled something out at the last moment to add to a display. This might mean hand written insta-documentaion, and there is really not much to do about that. Aside from that though, your documentation should look like it was meant to be presented to the public. An over stuffed binder with loose pages falling out and large chunks of irrelevant material is never appropriate for a display or competition.
- Process: Do not forget to include process information in your display. People LOVE to see how you created something, and including some of the items (such as spun yarn before the weaving) can really help them better understand how you created your work of art.
| |
 RSS Feed